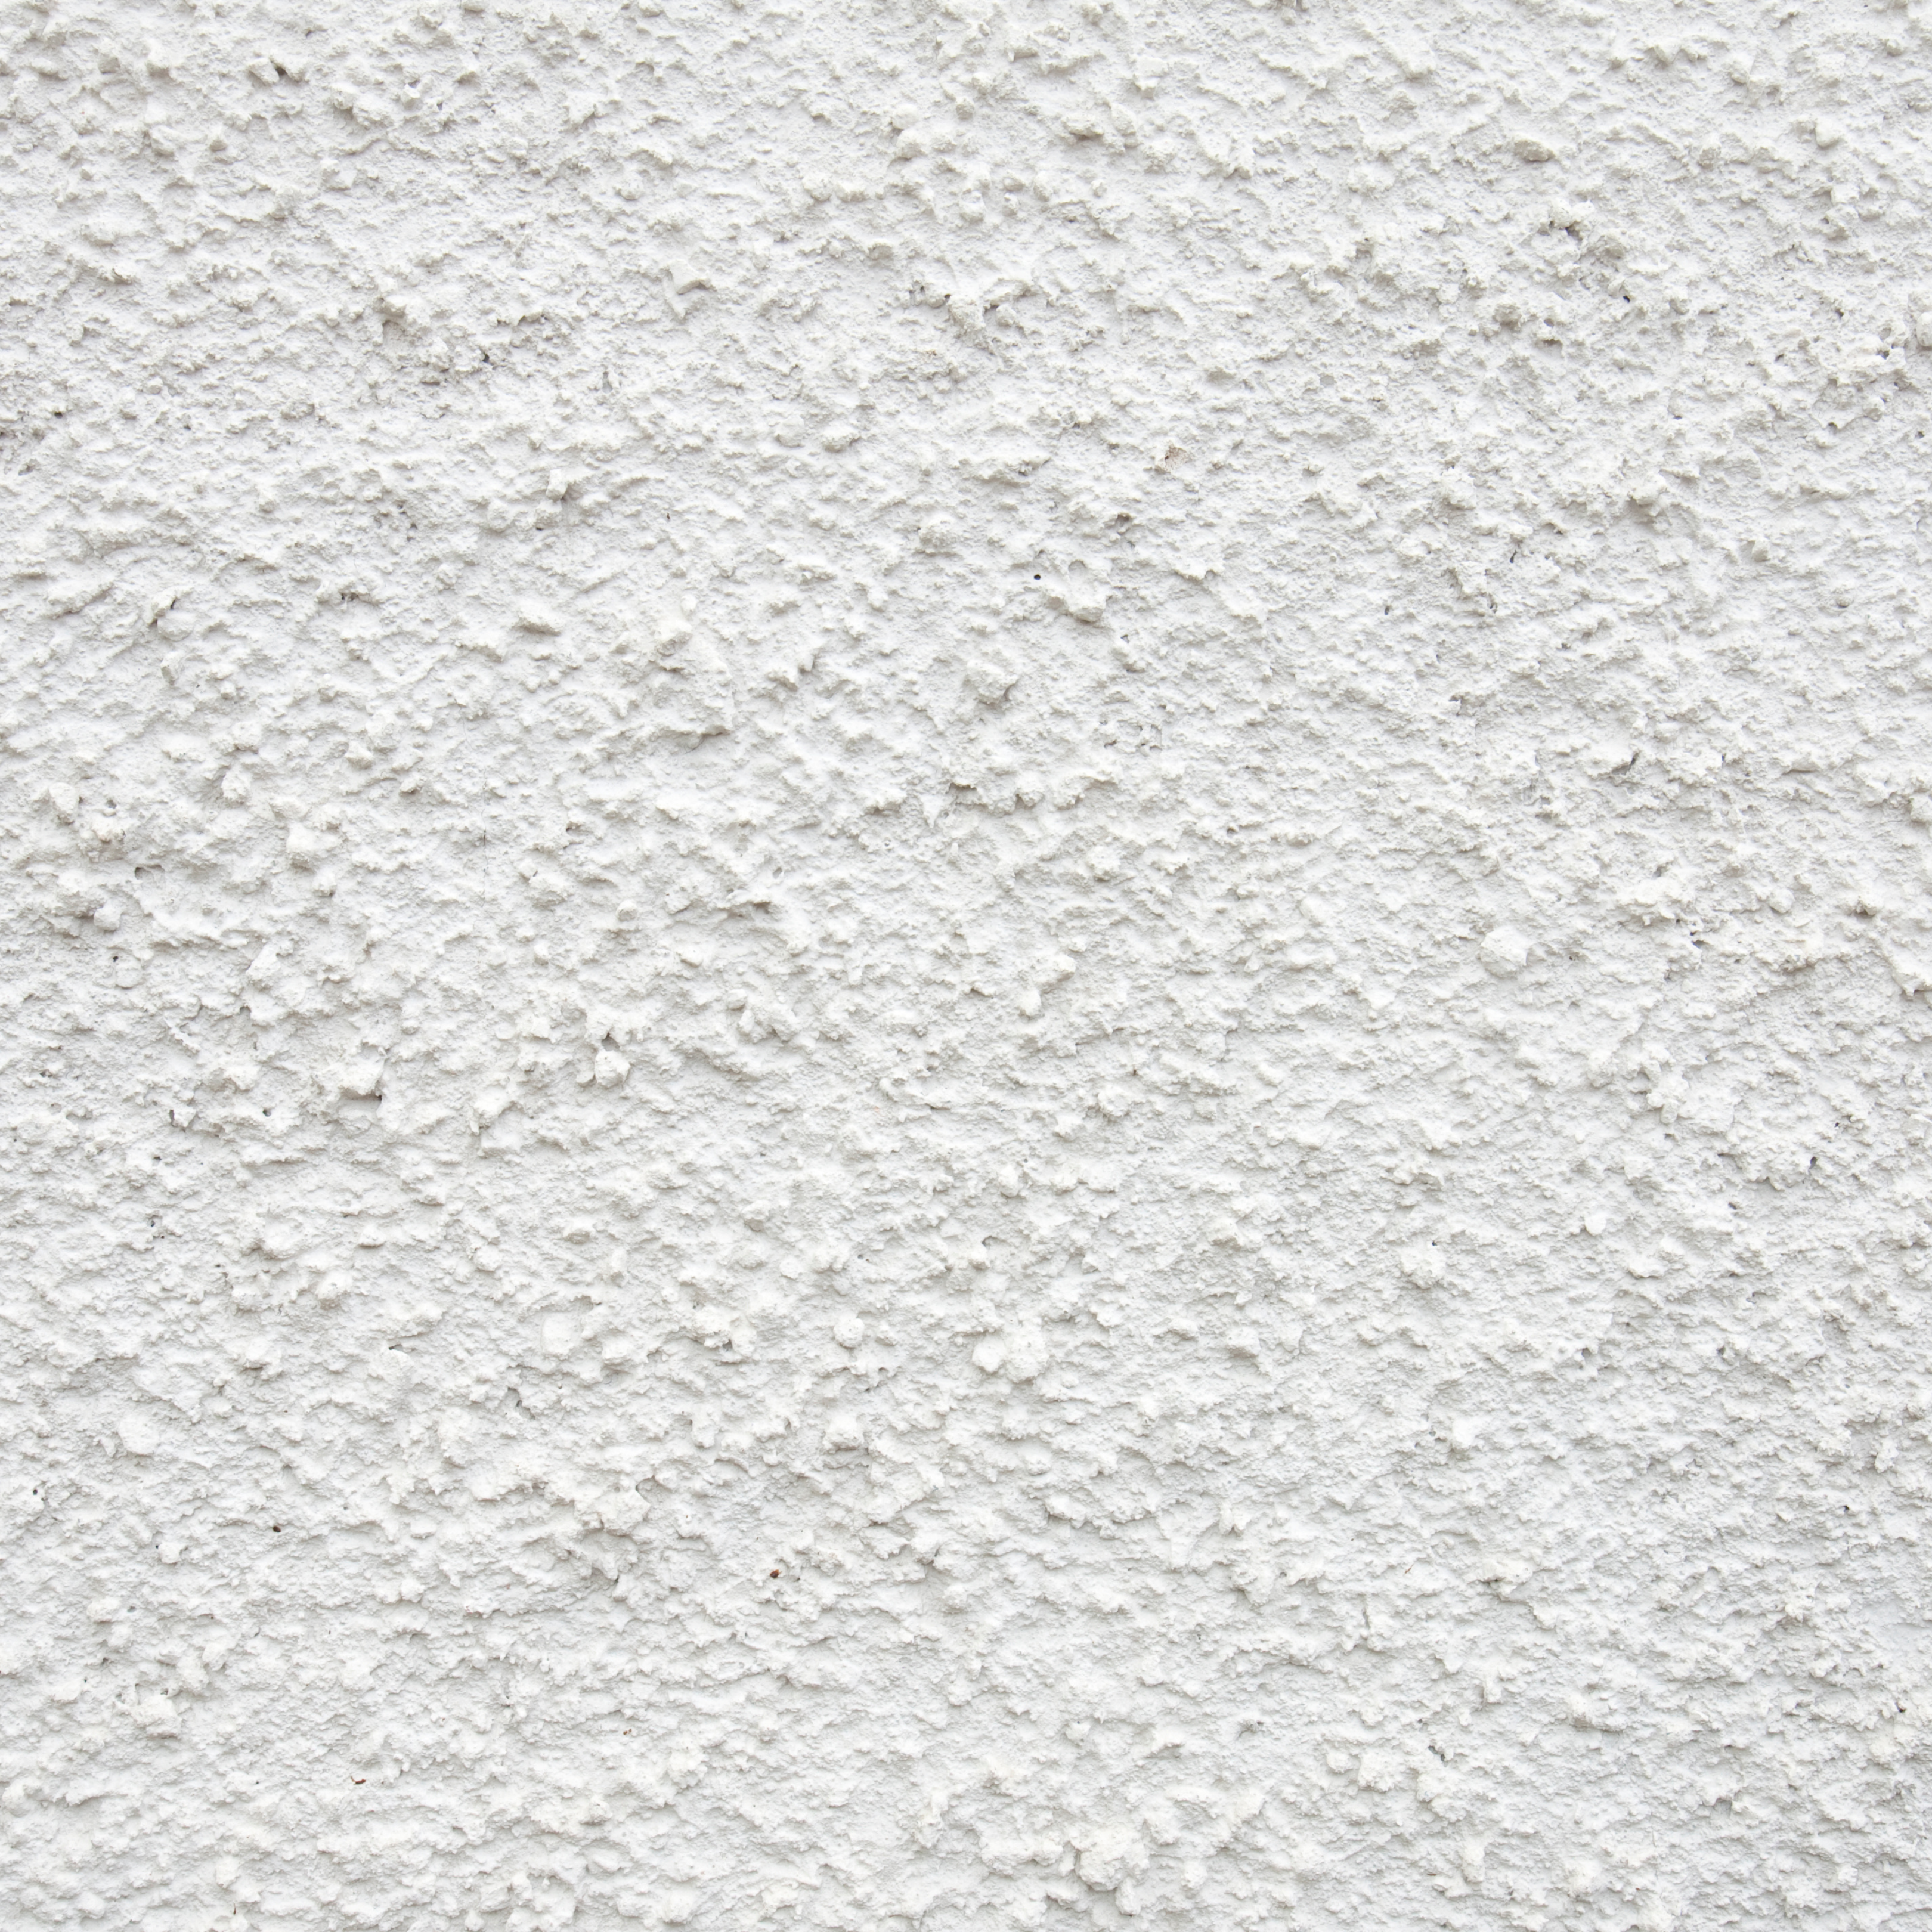
Painted Wall
Getting Started
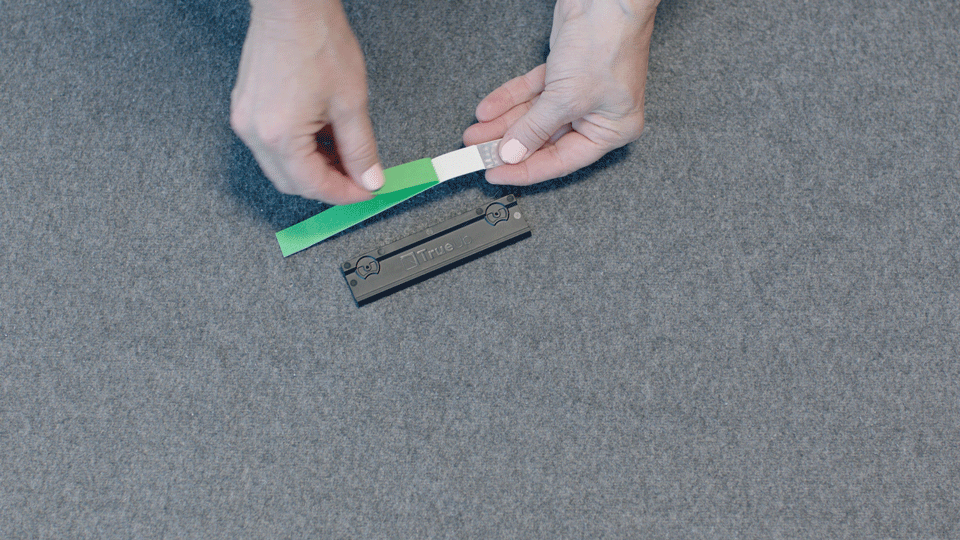
Before getting started, take a look at your TrueUp Hanging package and check to see that all items have been included.
Prep & Clean
Clean and prepare the intended surface before using the TrueUp Mount. Typically a clean cloth and water works great. Household cleaners are not recommended.
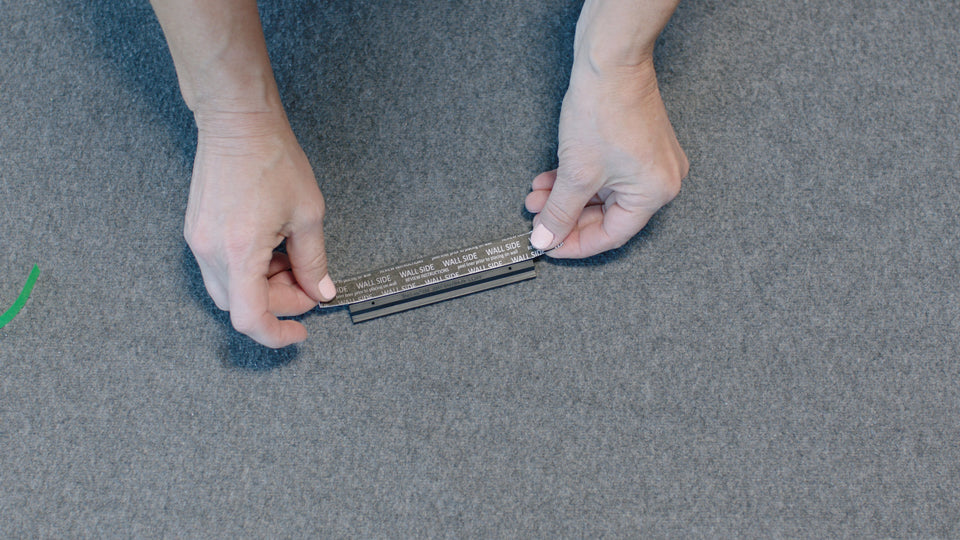
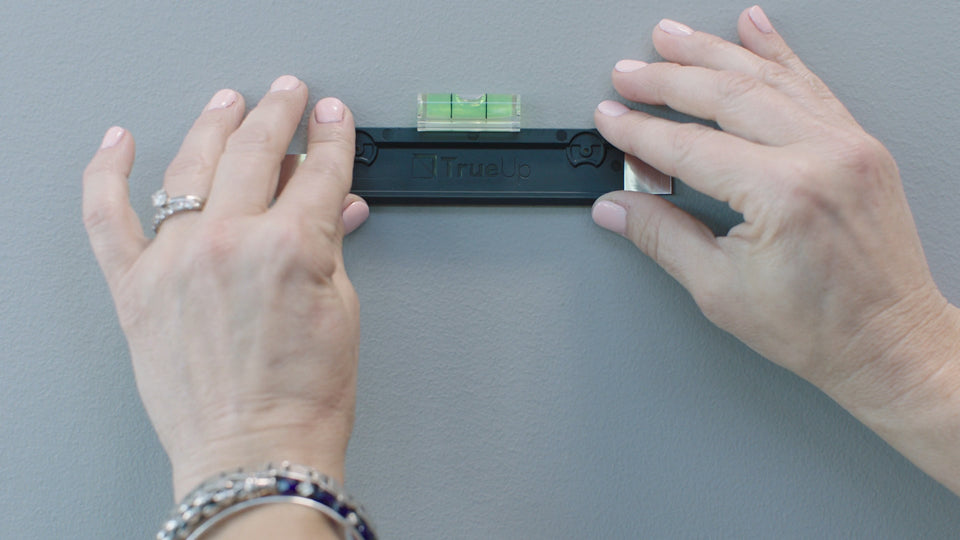
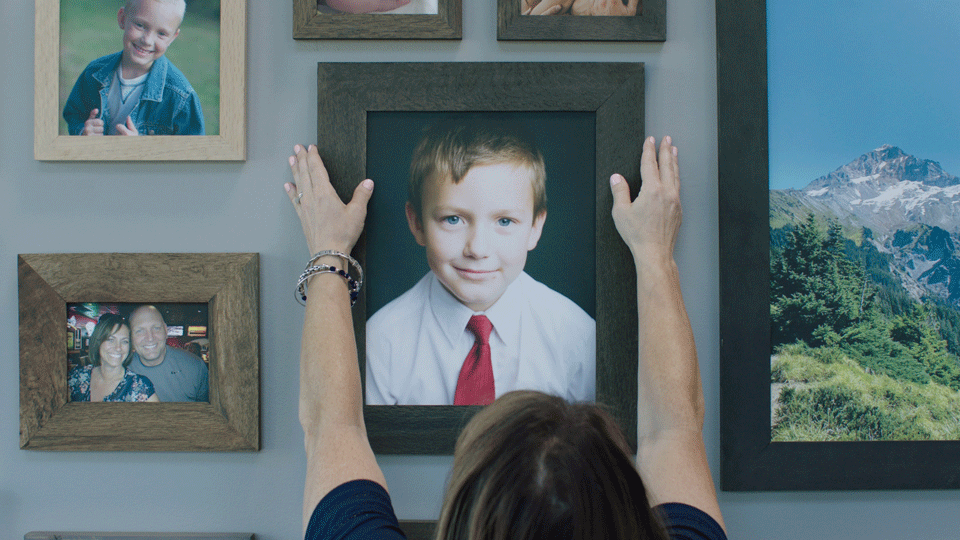
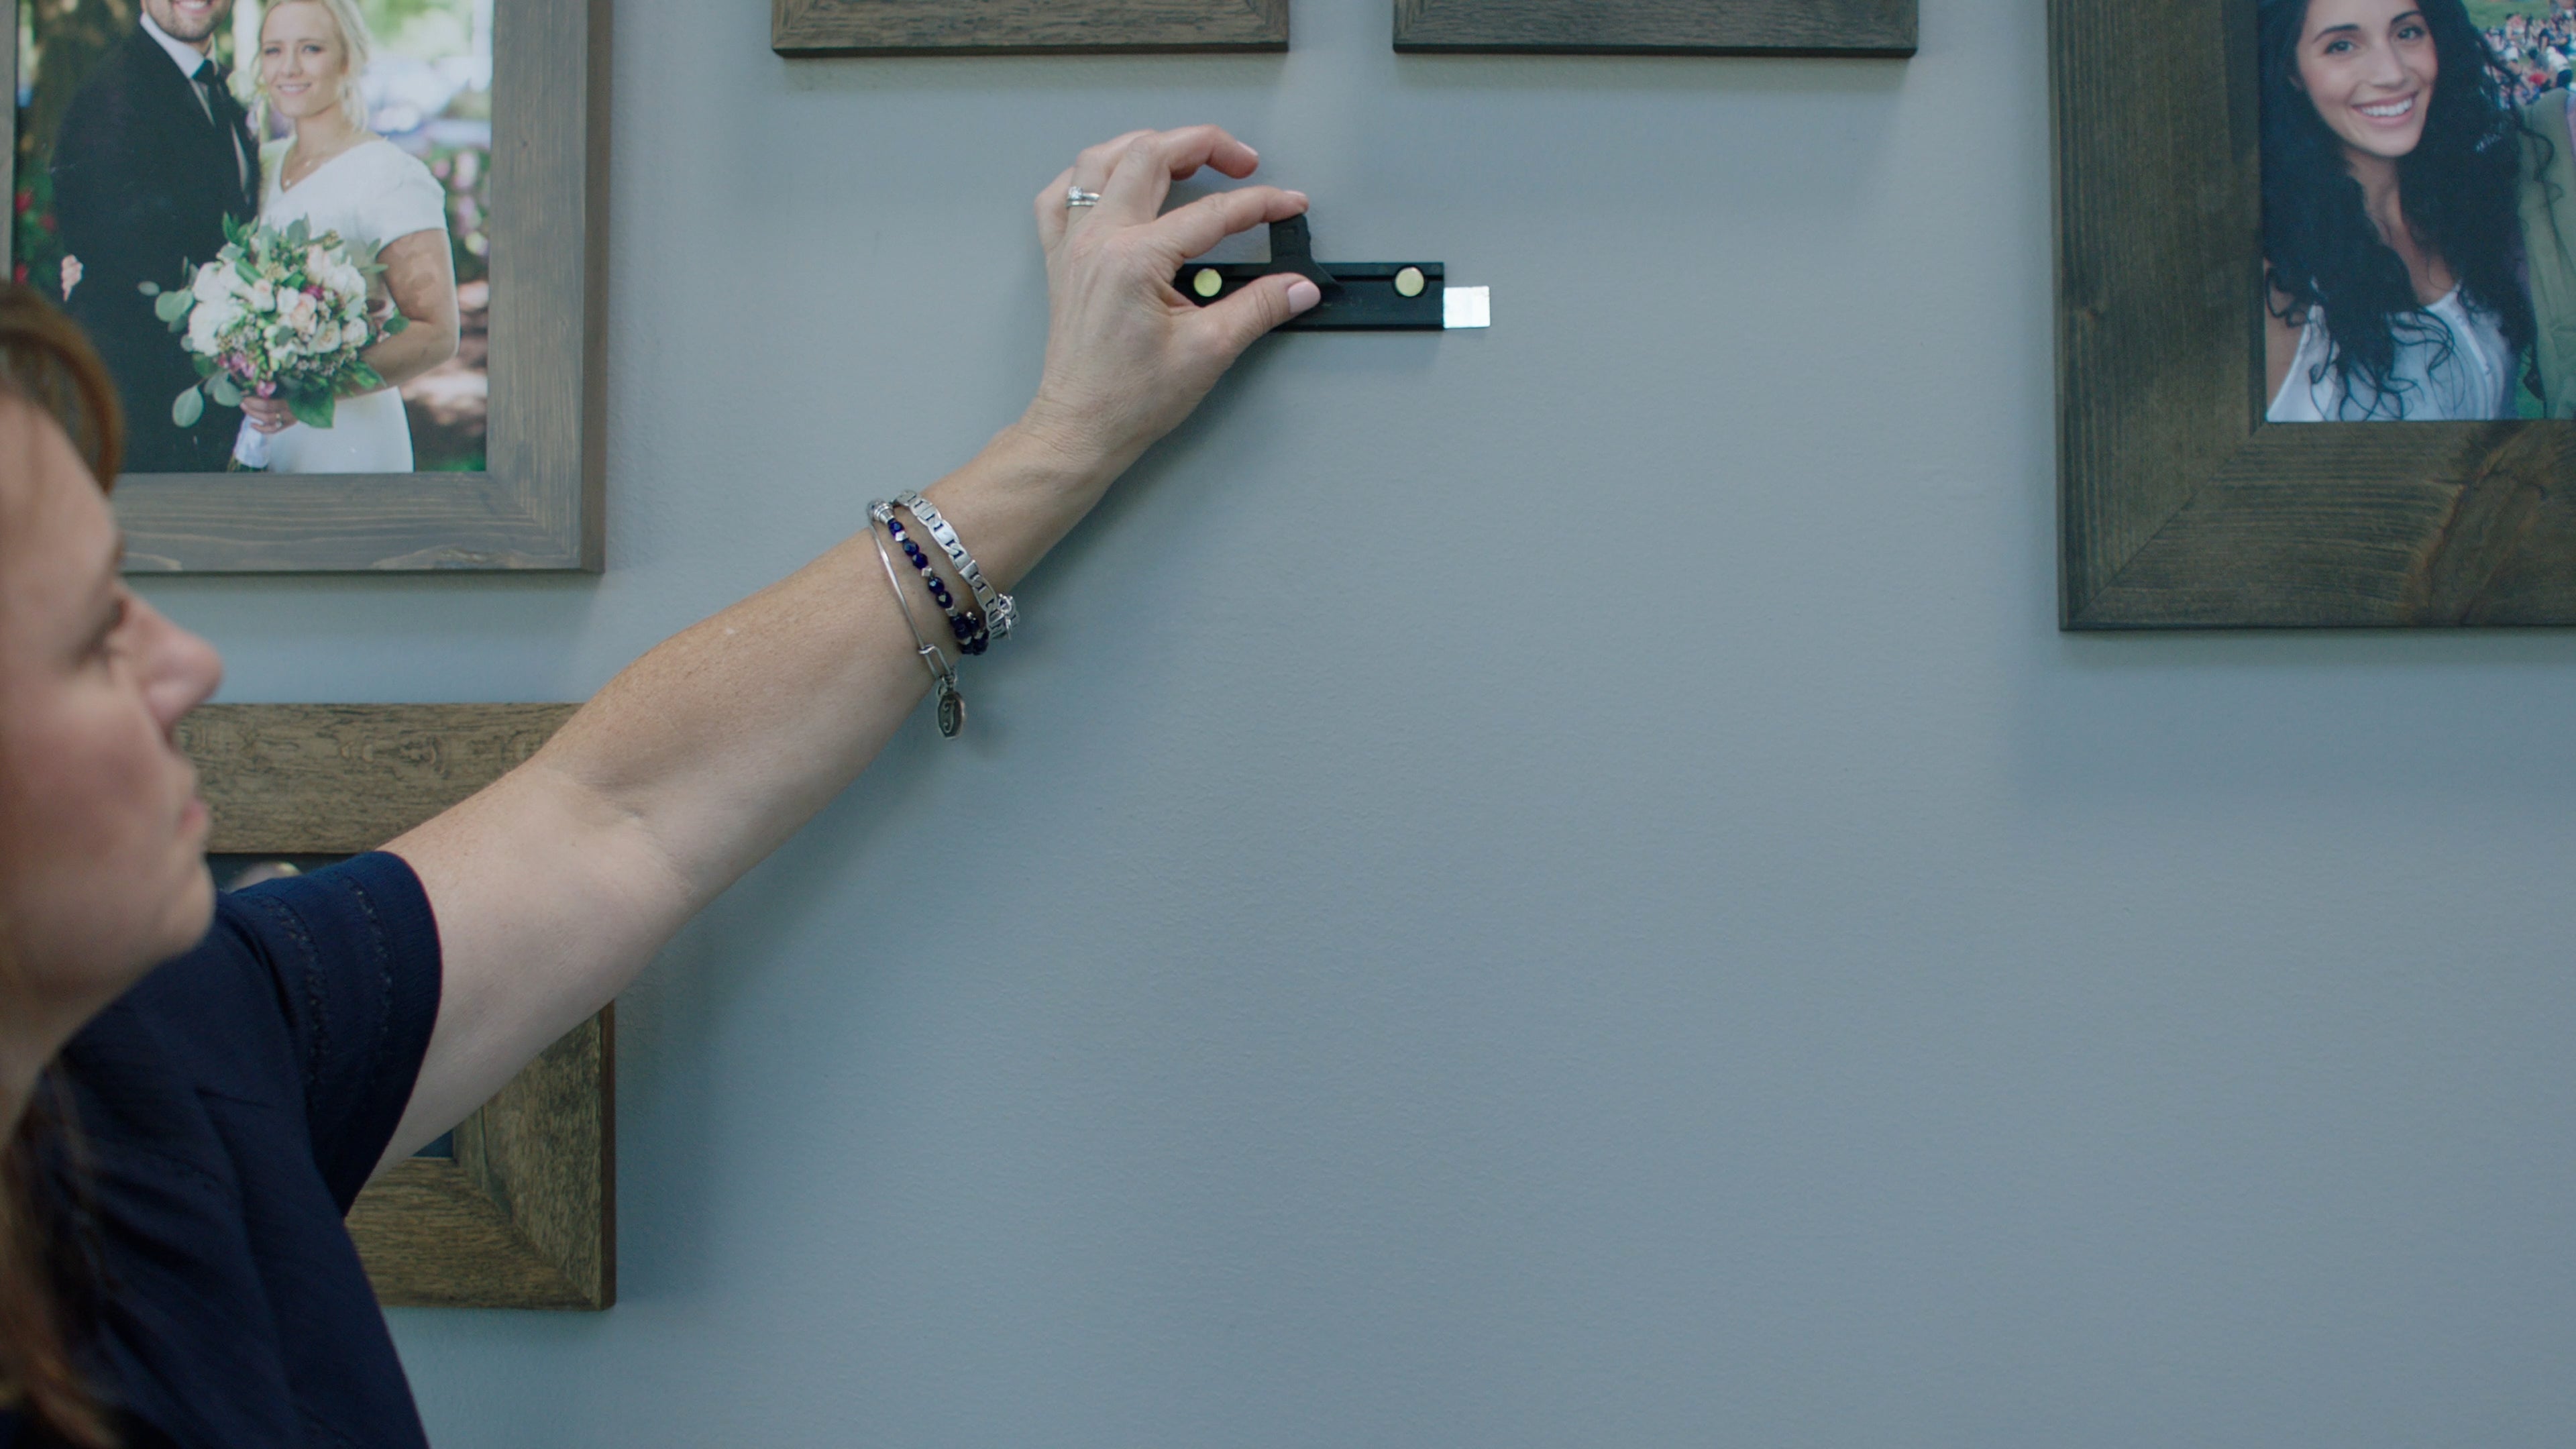
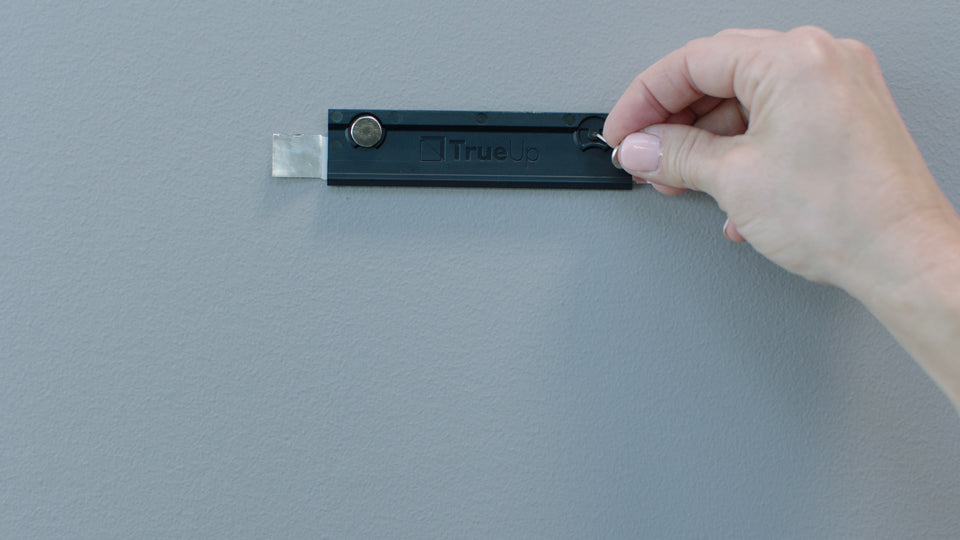
Step 1: Mounting the TrueUp Mount to your wall
To use the TrueUp Frame adapter, continue to Step 2a.
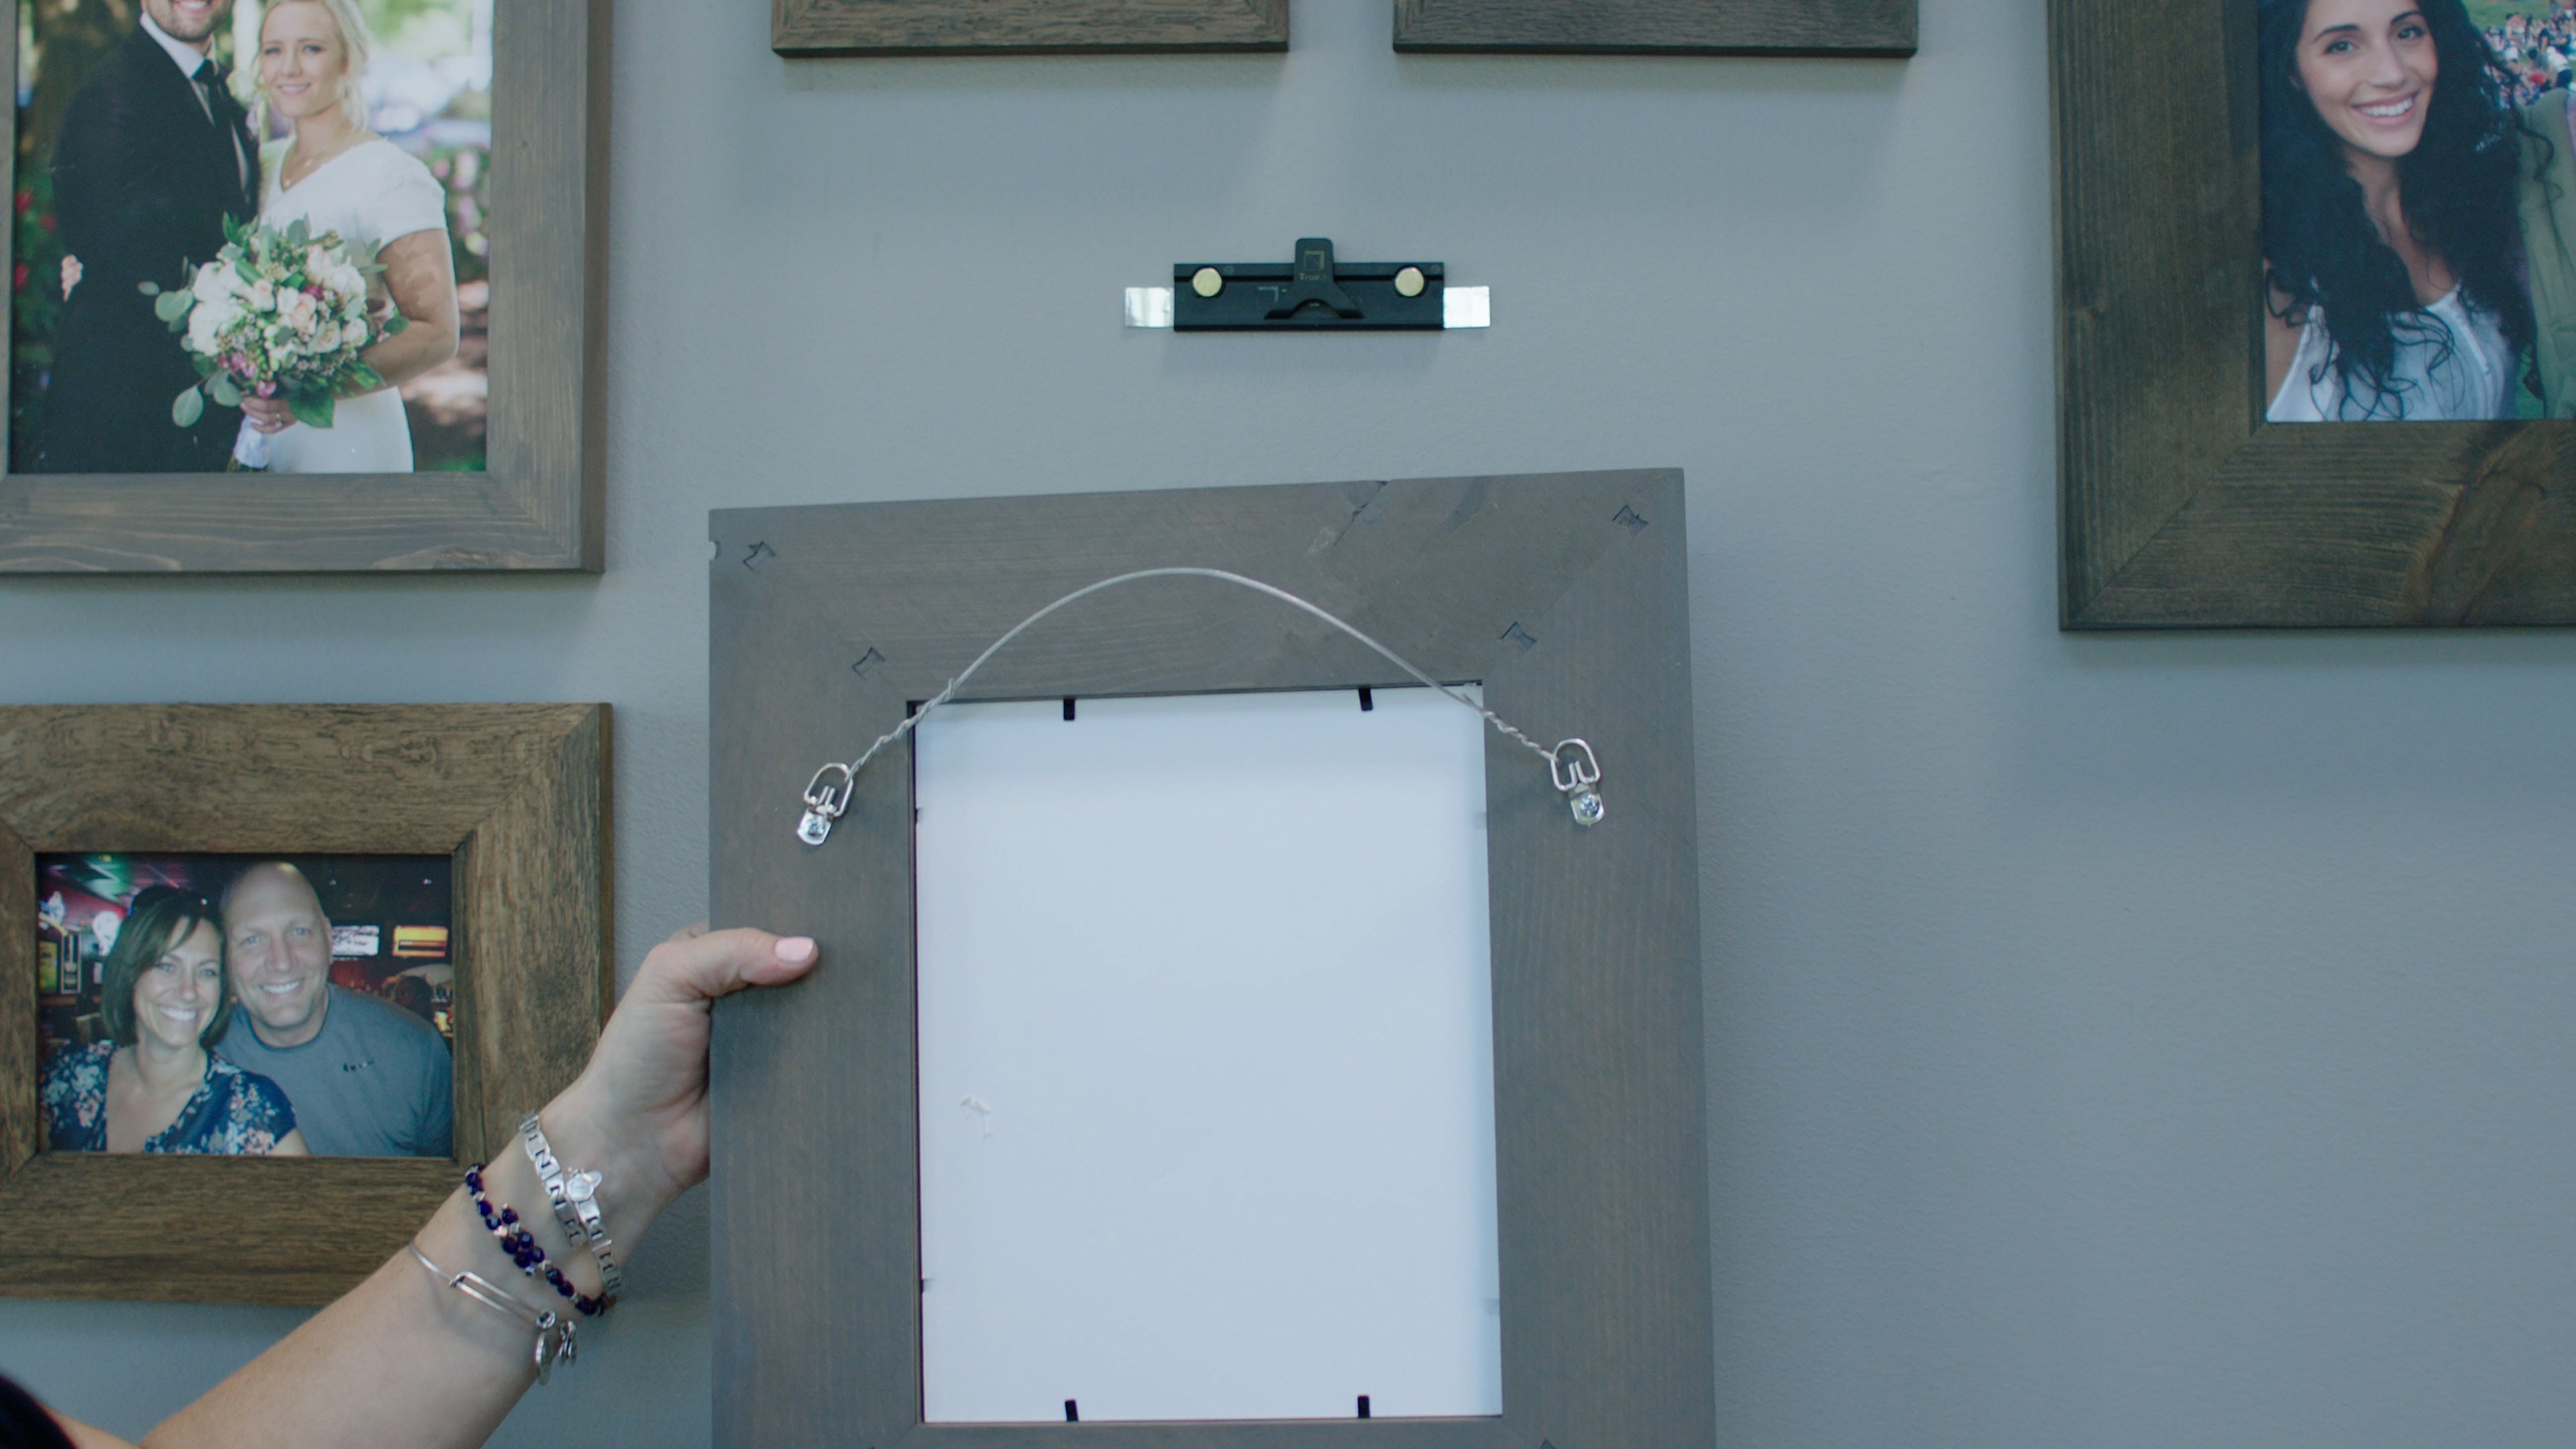
Alternatively, if you choose to use your frame(s) existing wire or sawtooth hardware go to Step 2b.
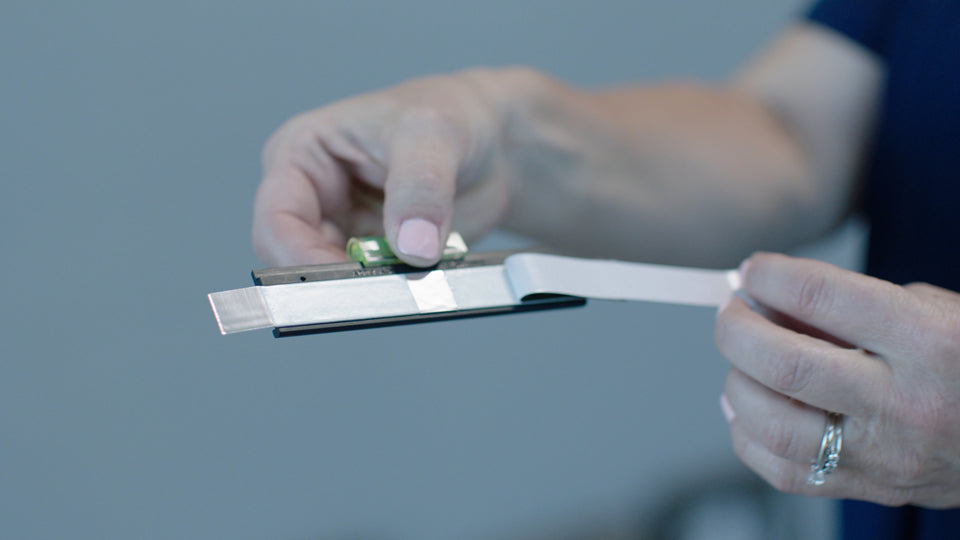
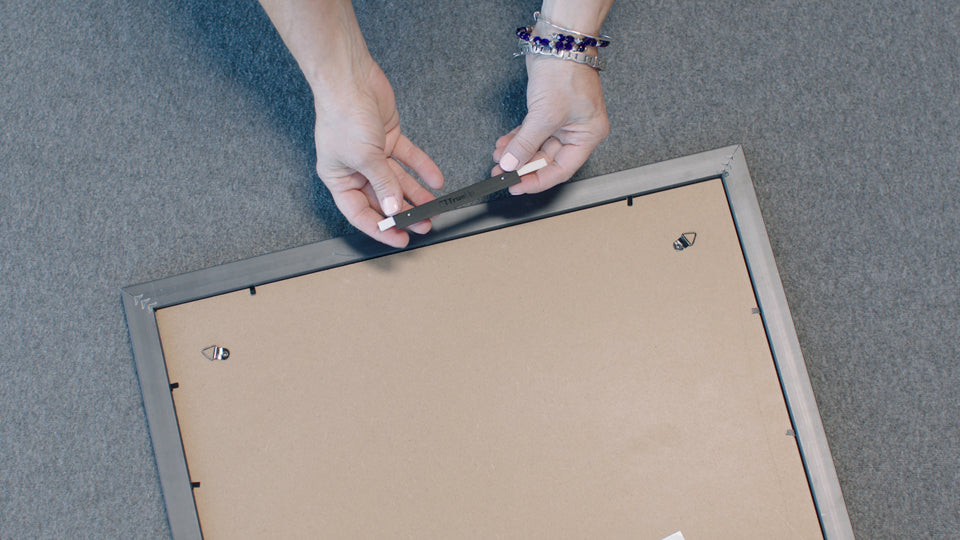
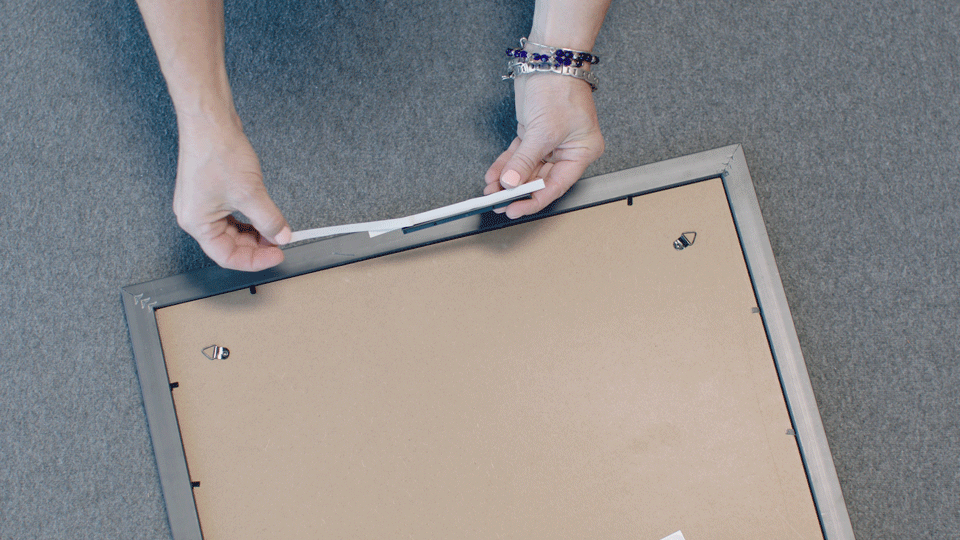
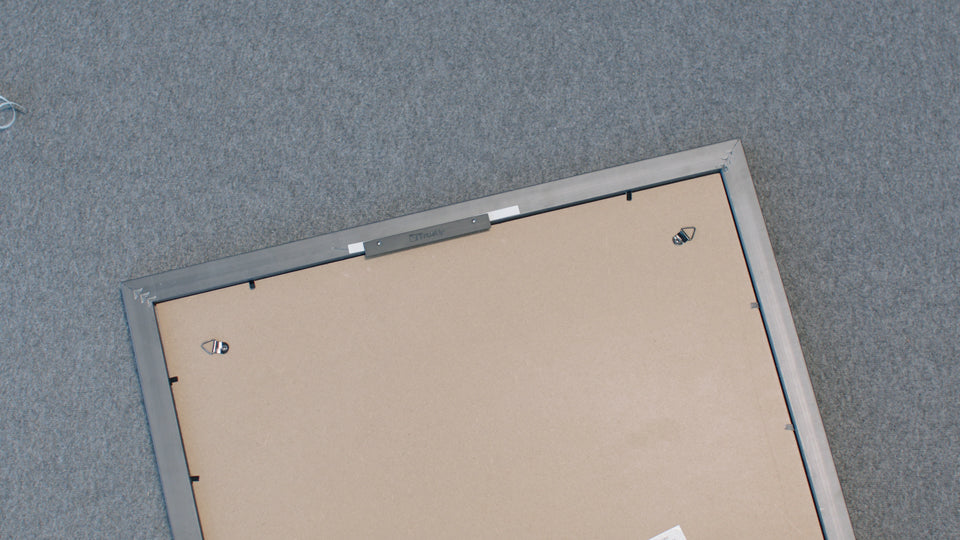
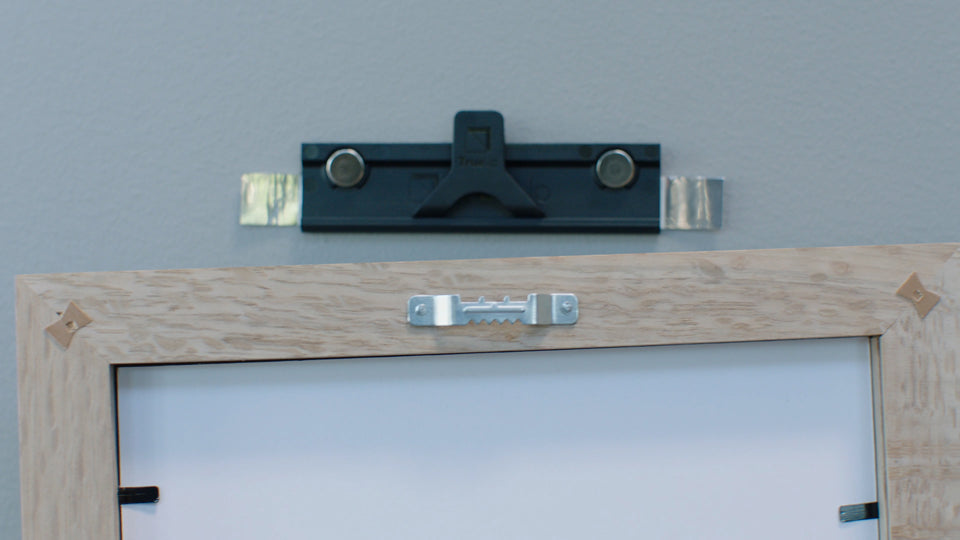
Step 2A: Attach the TrueUp frame adapter to your frame
Step 2B: Use existing frame hardware with the TrueUp mount

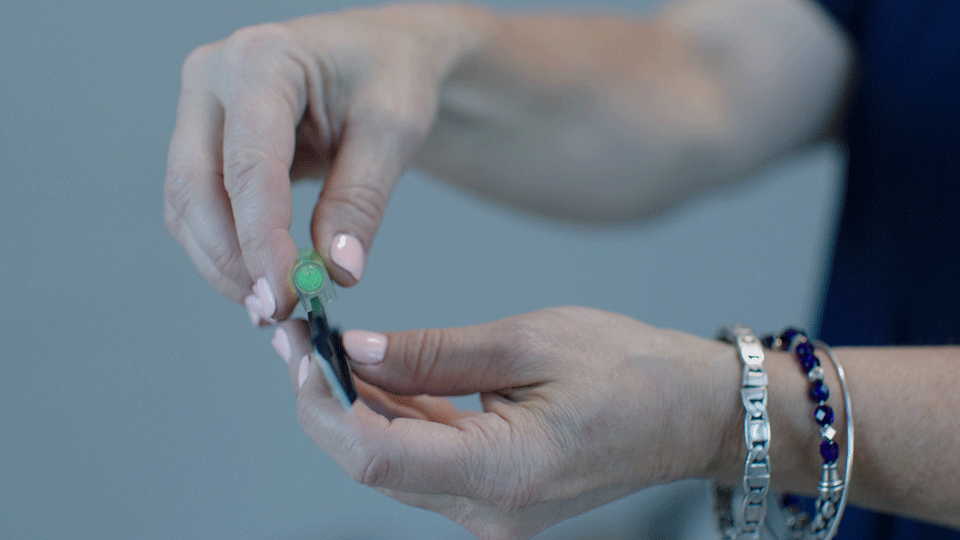
Step 3: PIN IT
Because we can’t predict your wall’s texture or paint condition: The TrueUp system includes twosmall pins. Once you’re satisfied with your frames placement, just PIN IT.

Removal
"Yes" Surfaces
For optimal results, TrueUp recommends mounts be used on flat and smooth surfaces.
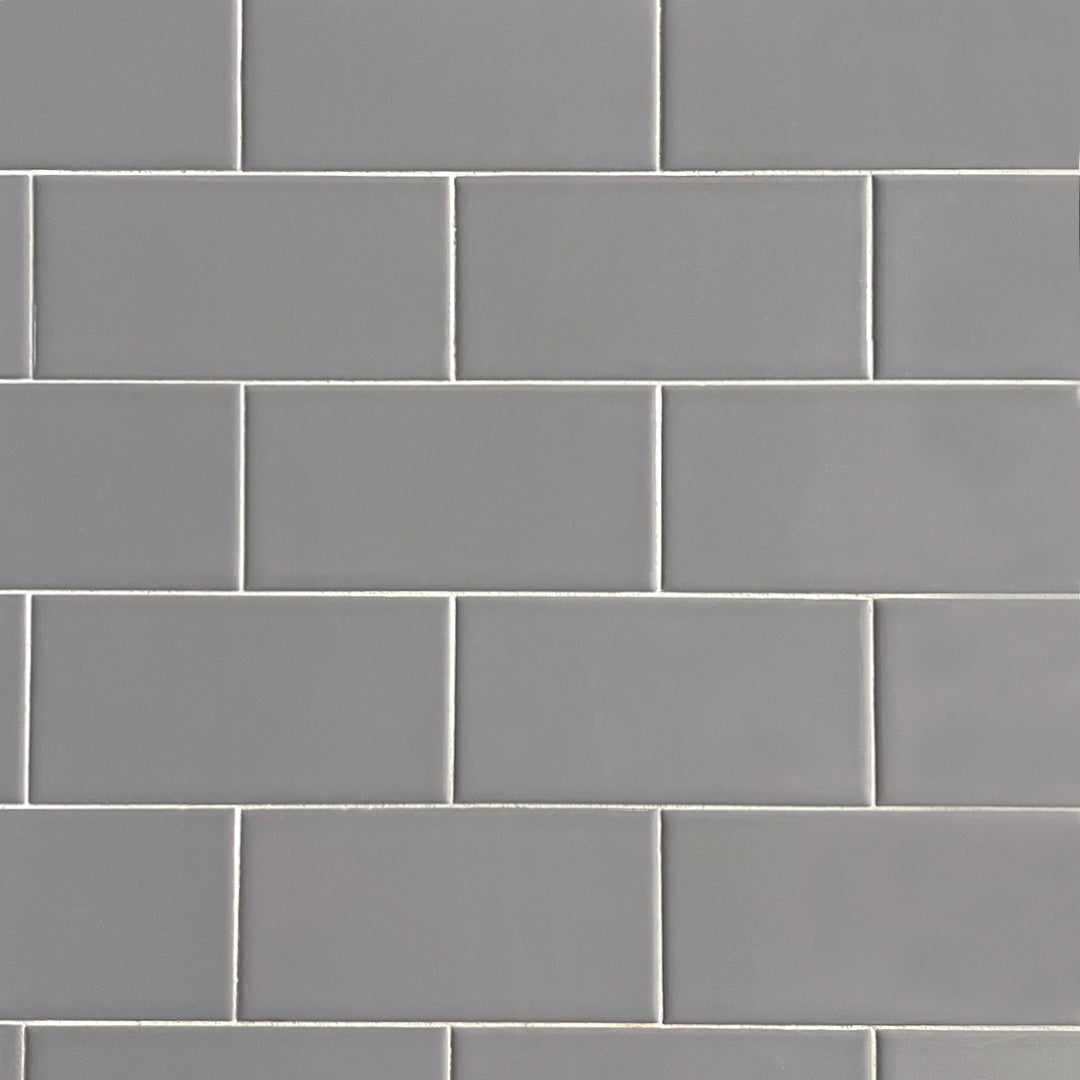
Ceramic Tile
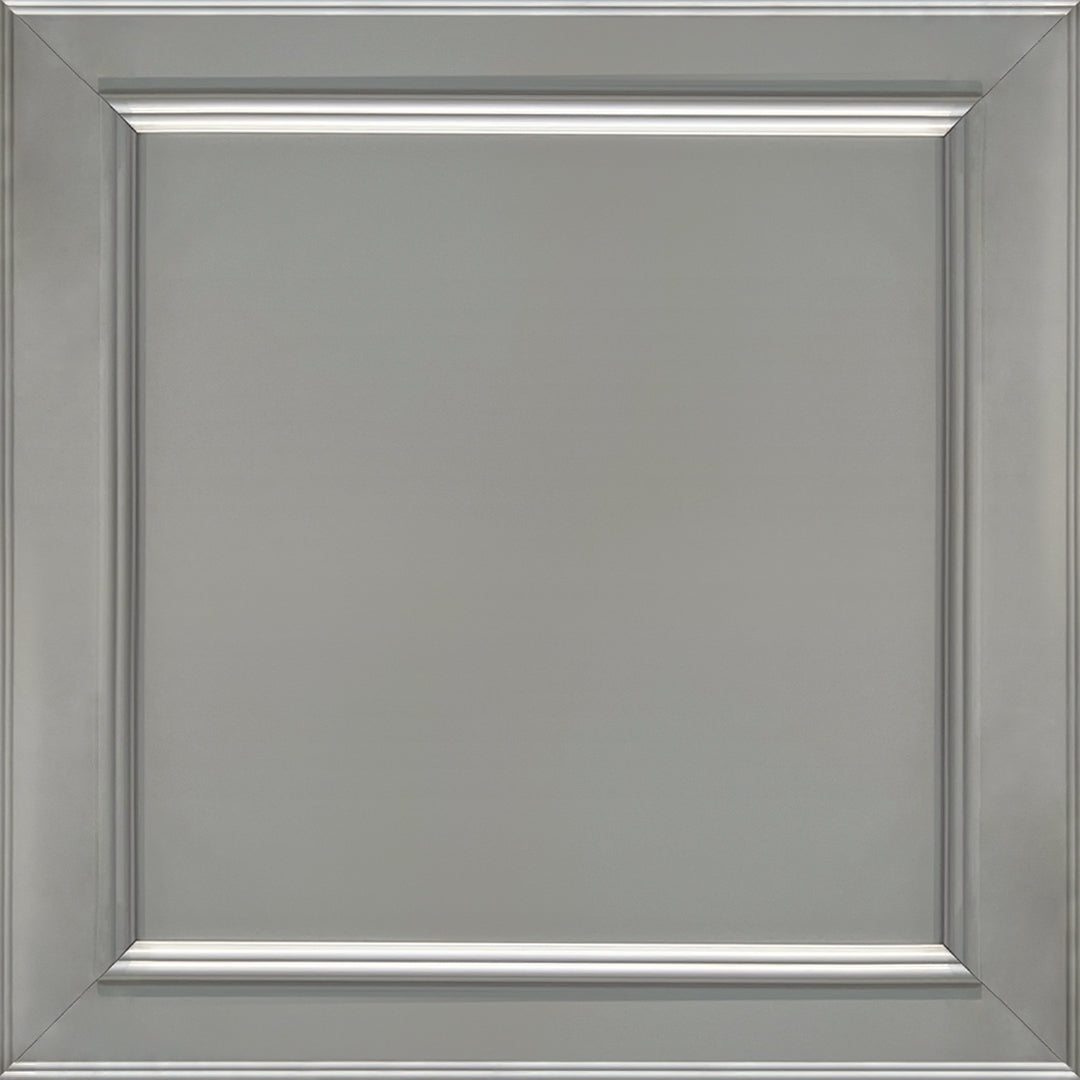
Painted Wood

Painted Cinderblock
Glass
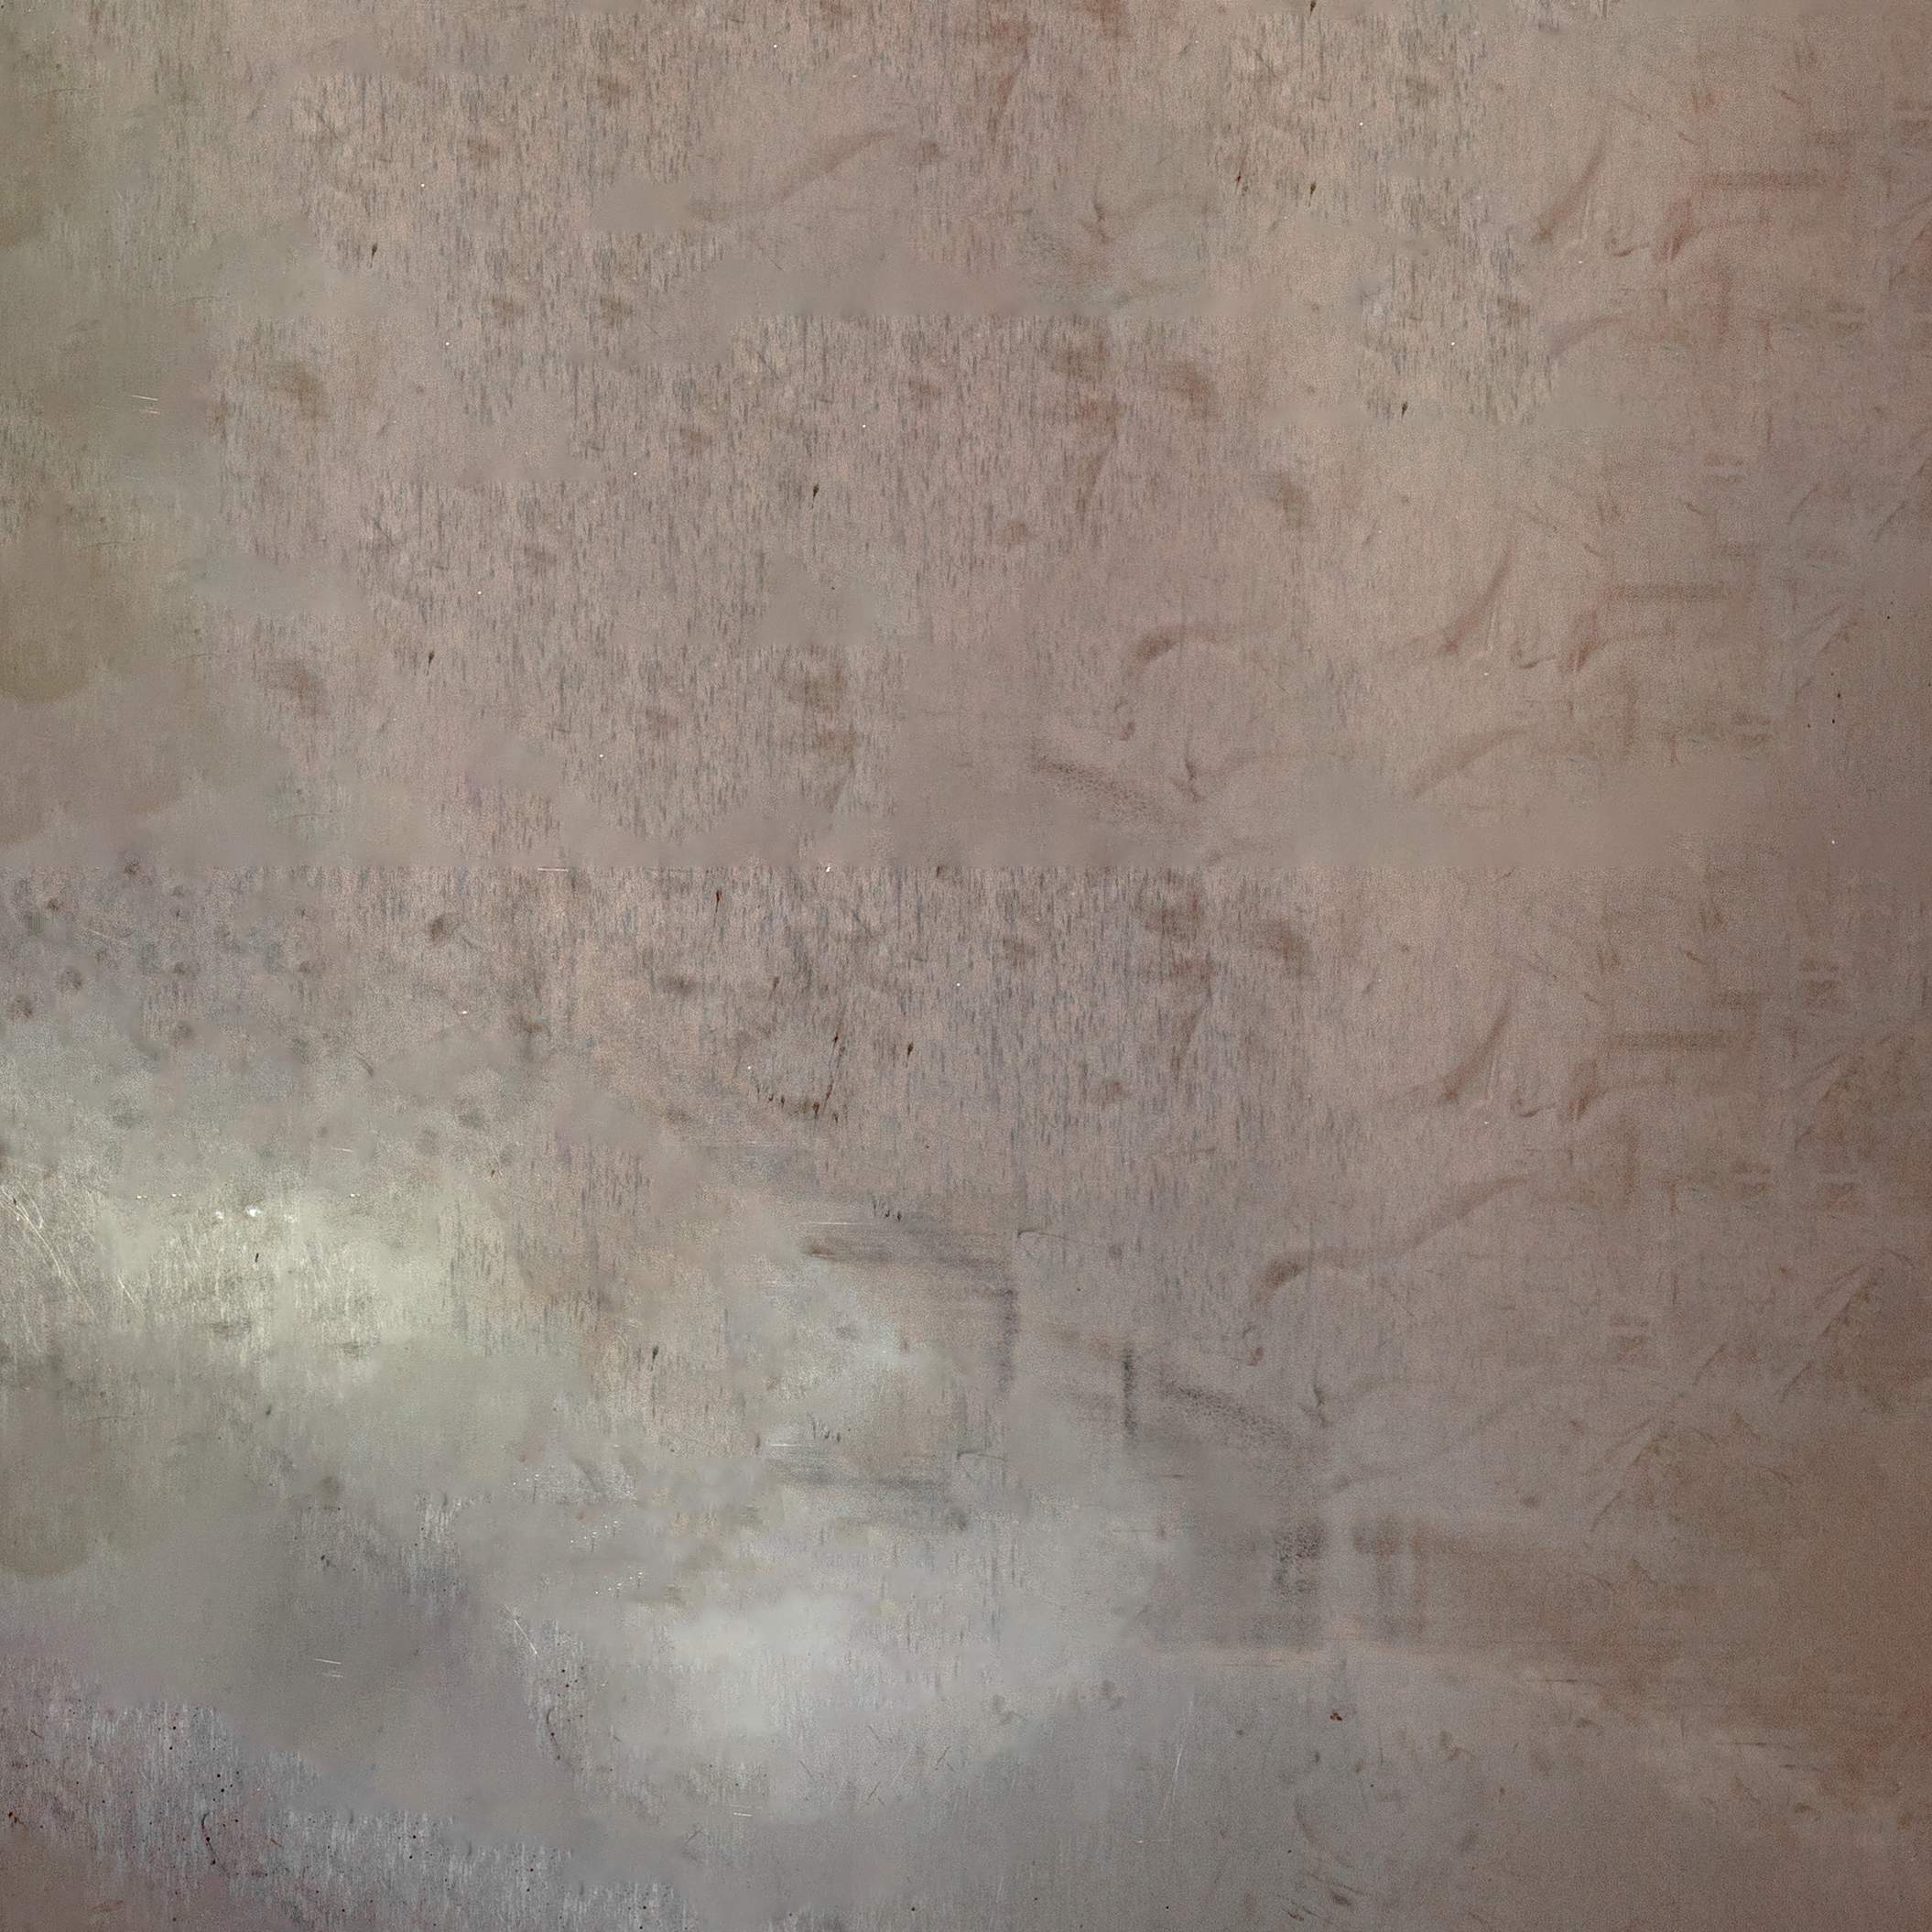
Metal
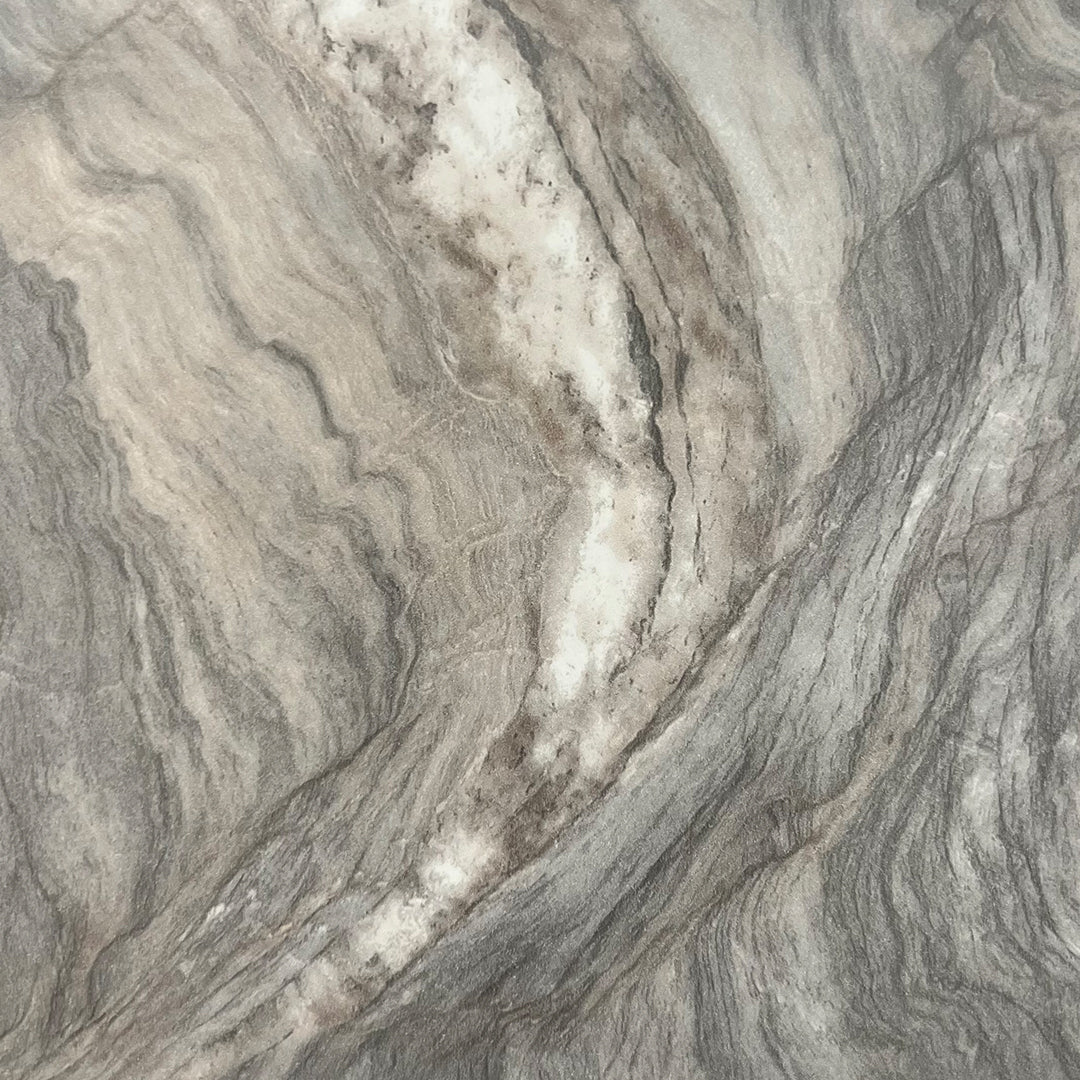
Most Laminates

Most Smooth Surfaces
"No" Surfaces
TrueUp advises against using mounts on grainy and porous surfaces including unpainted brick/cinder blocks, fabric, heavily textured walls, wallpaper, and other rough non-stick surfaces.
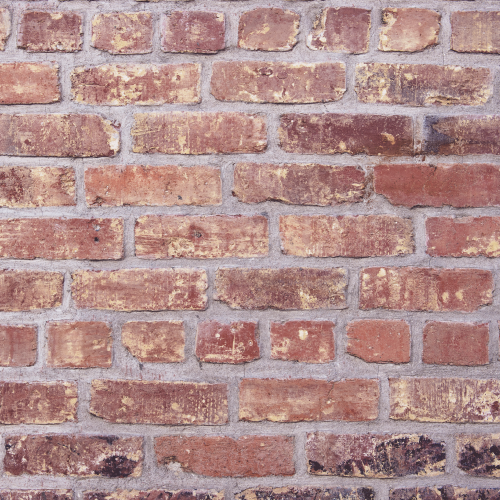
Unpainted Brick
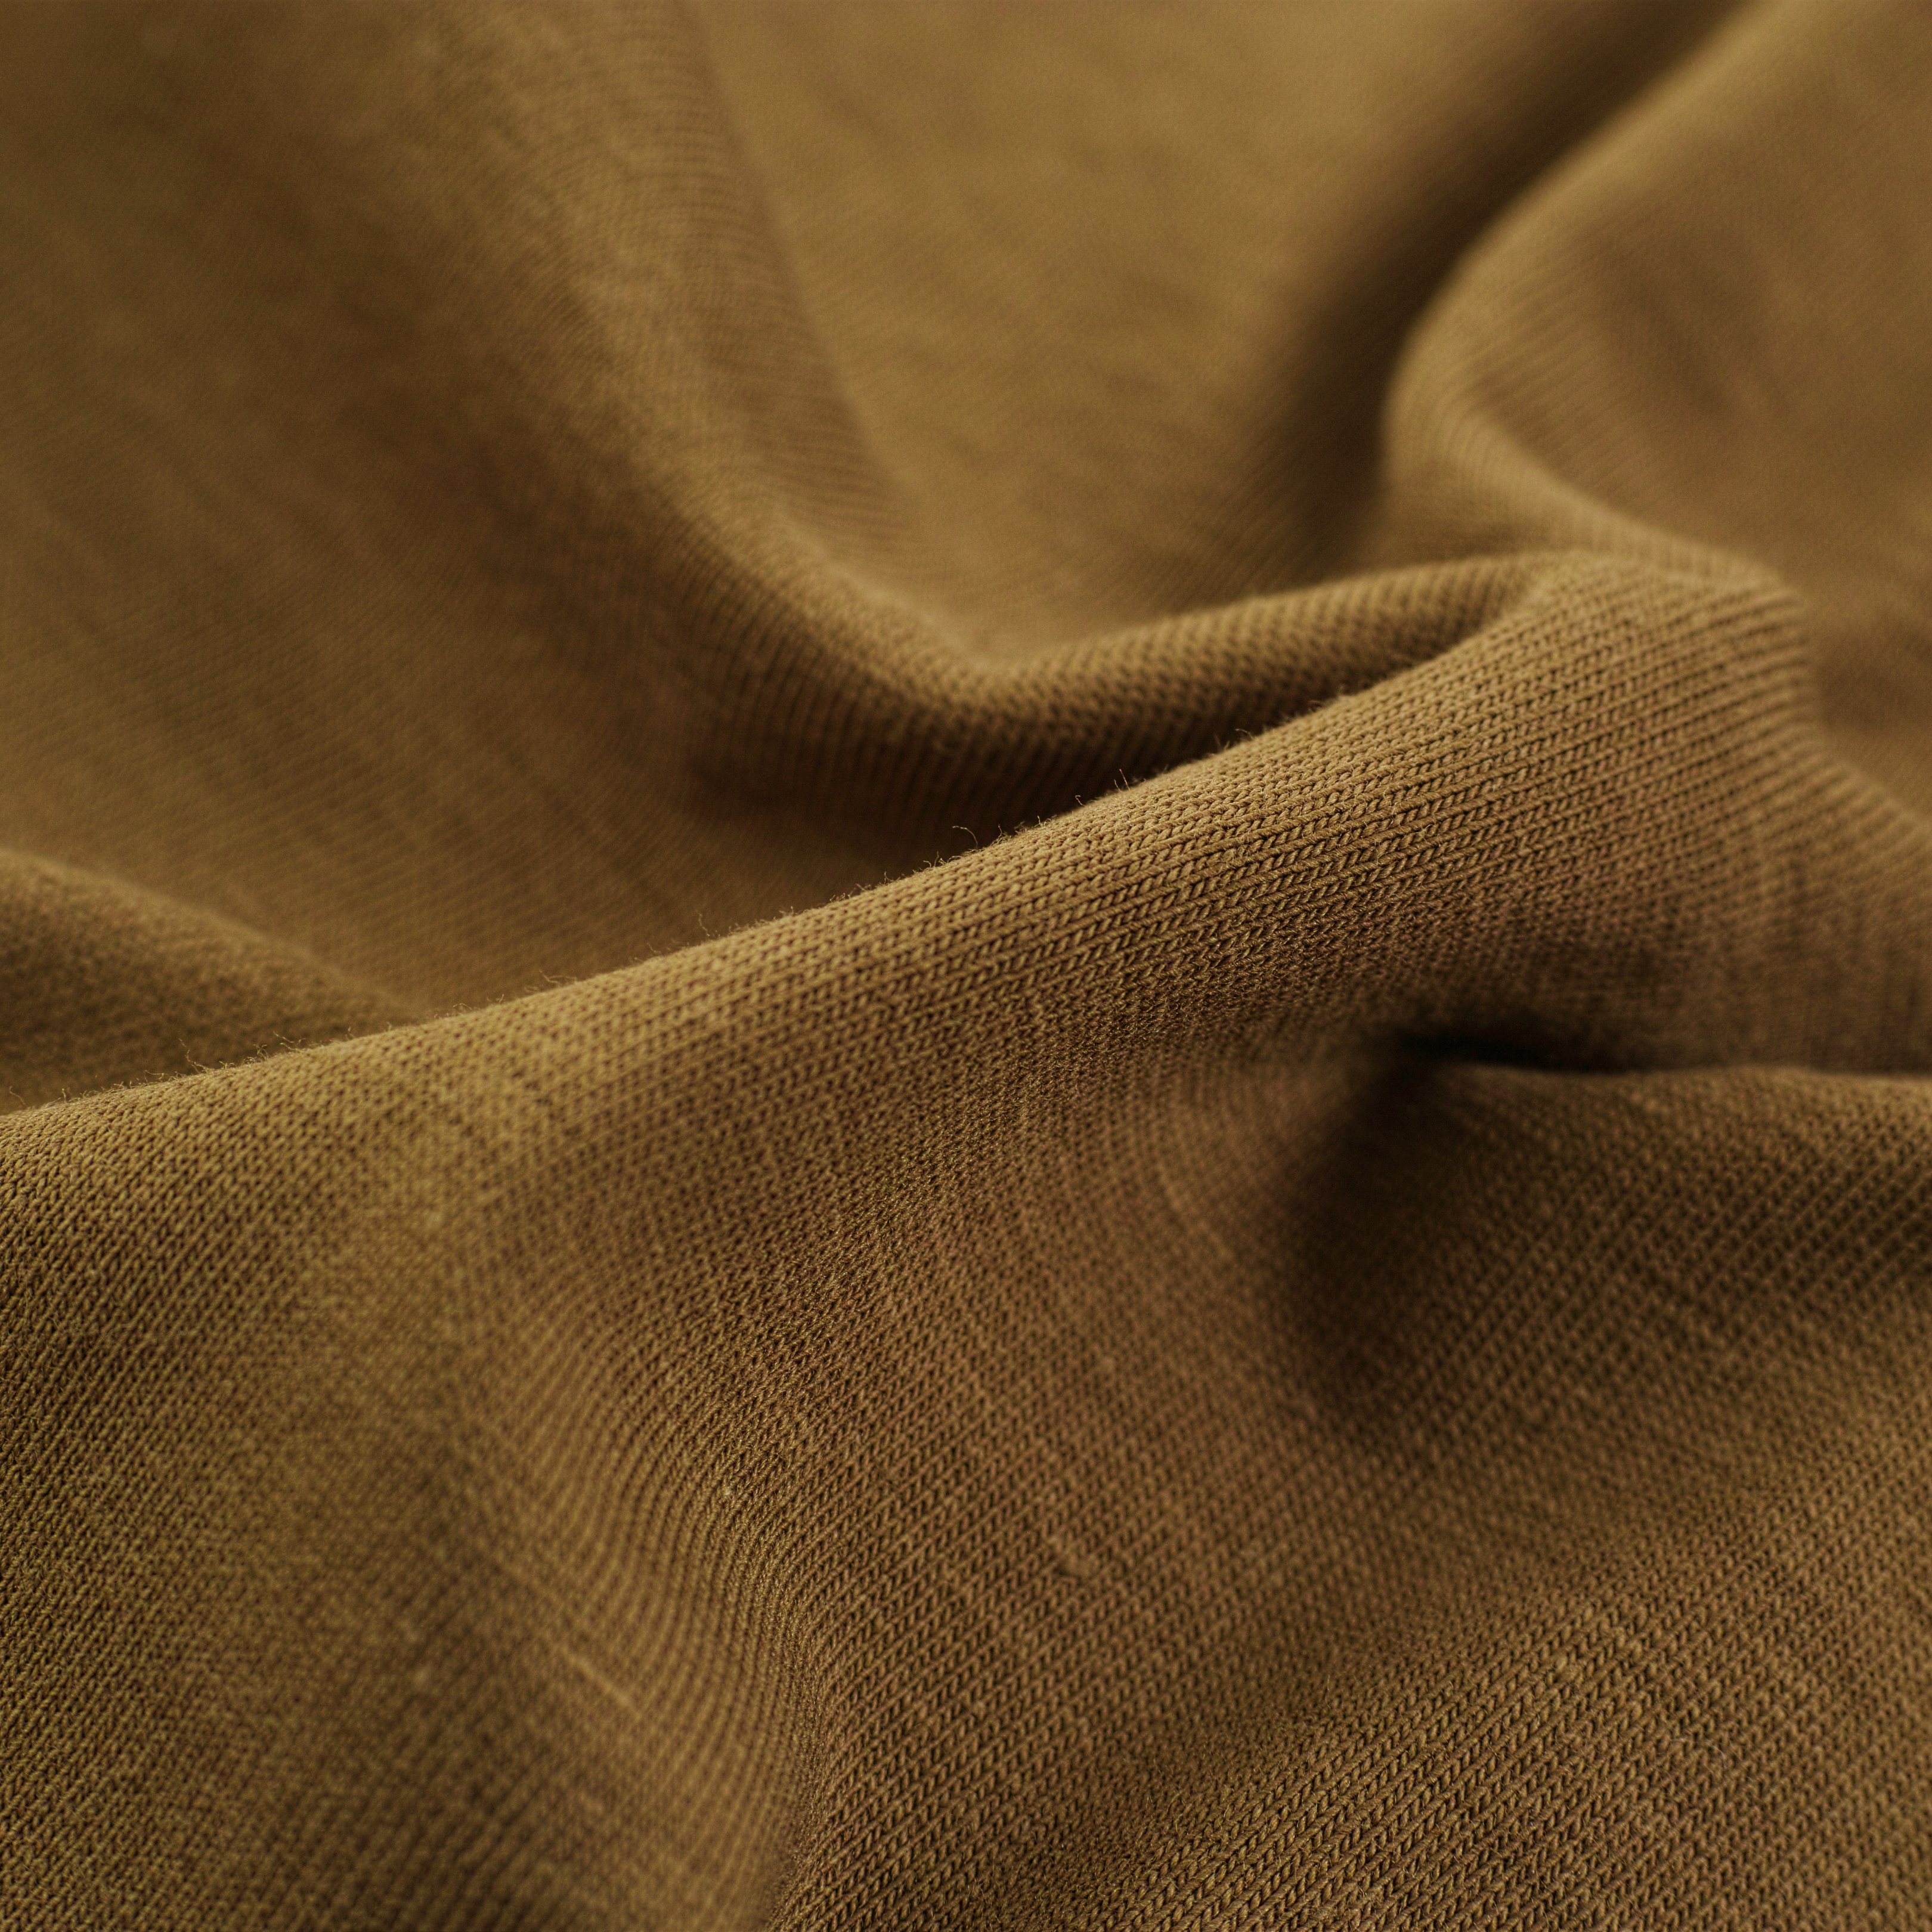
Fabric
Heavily Textured
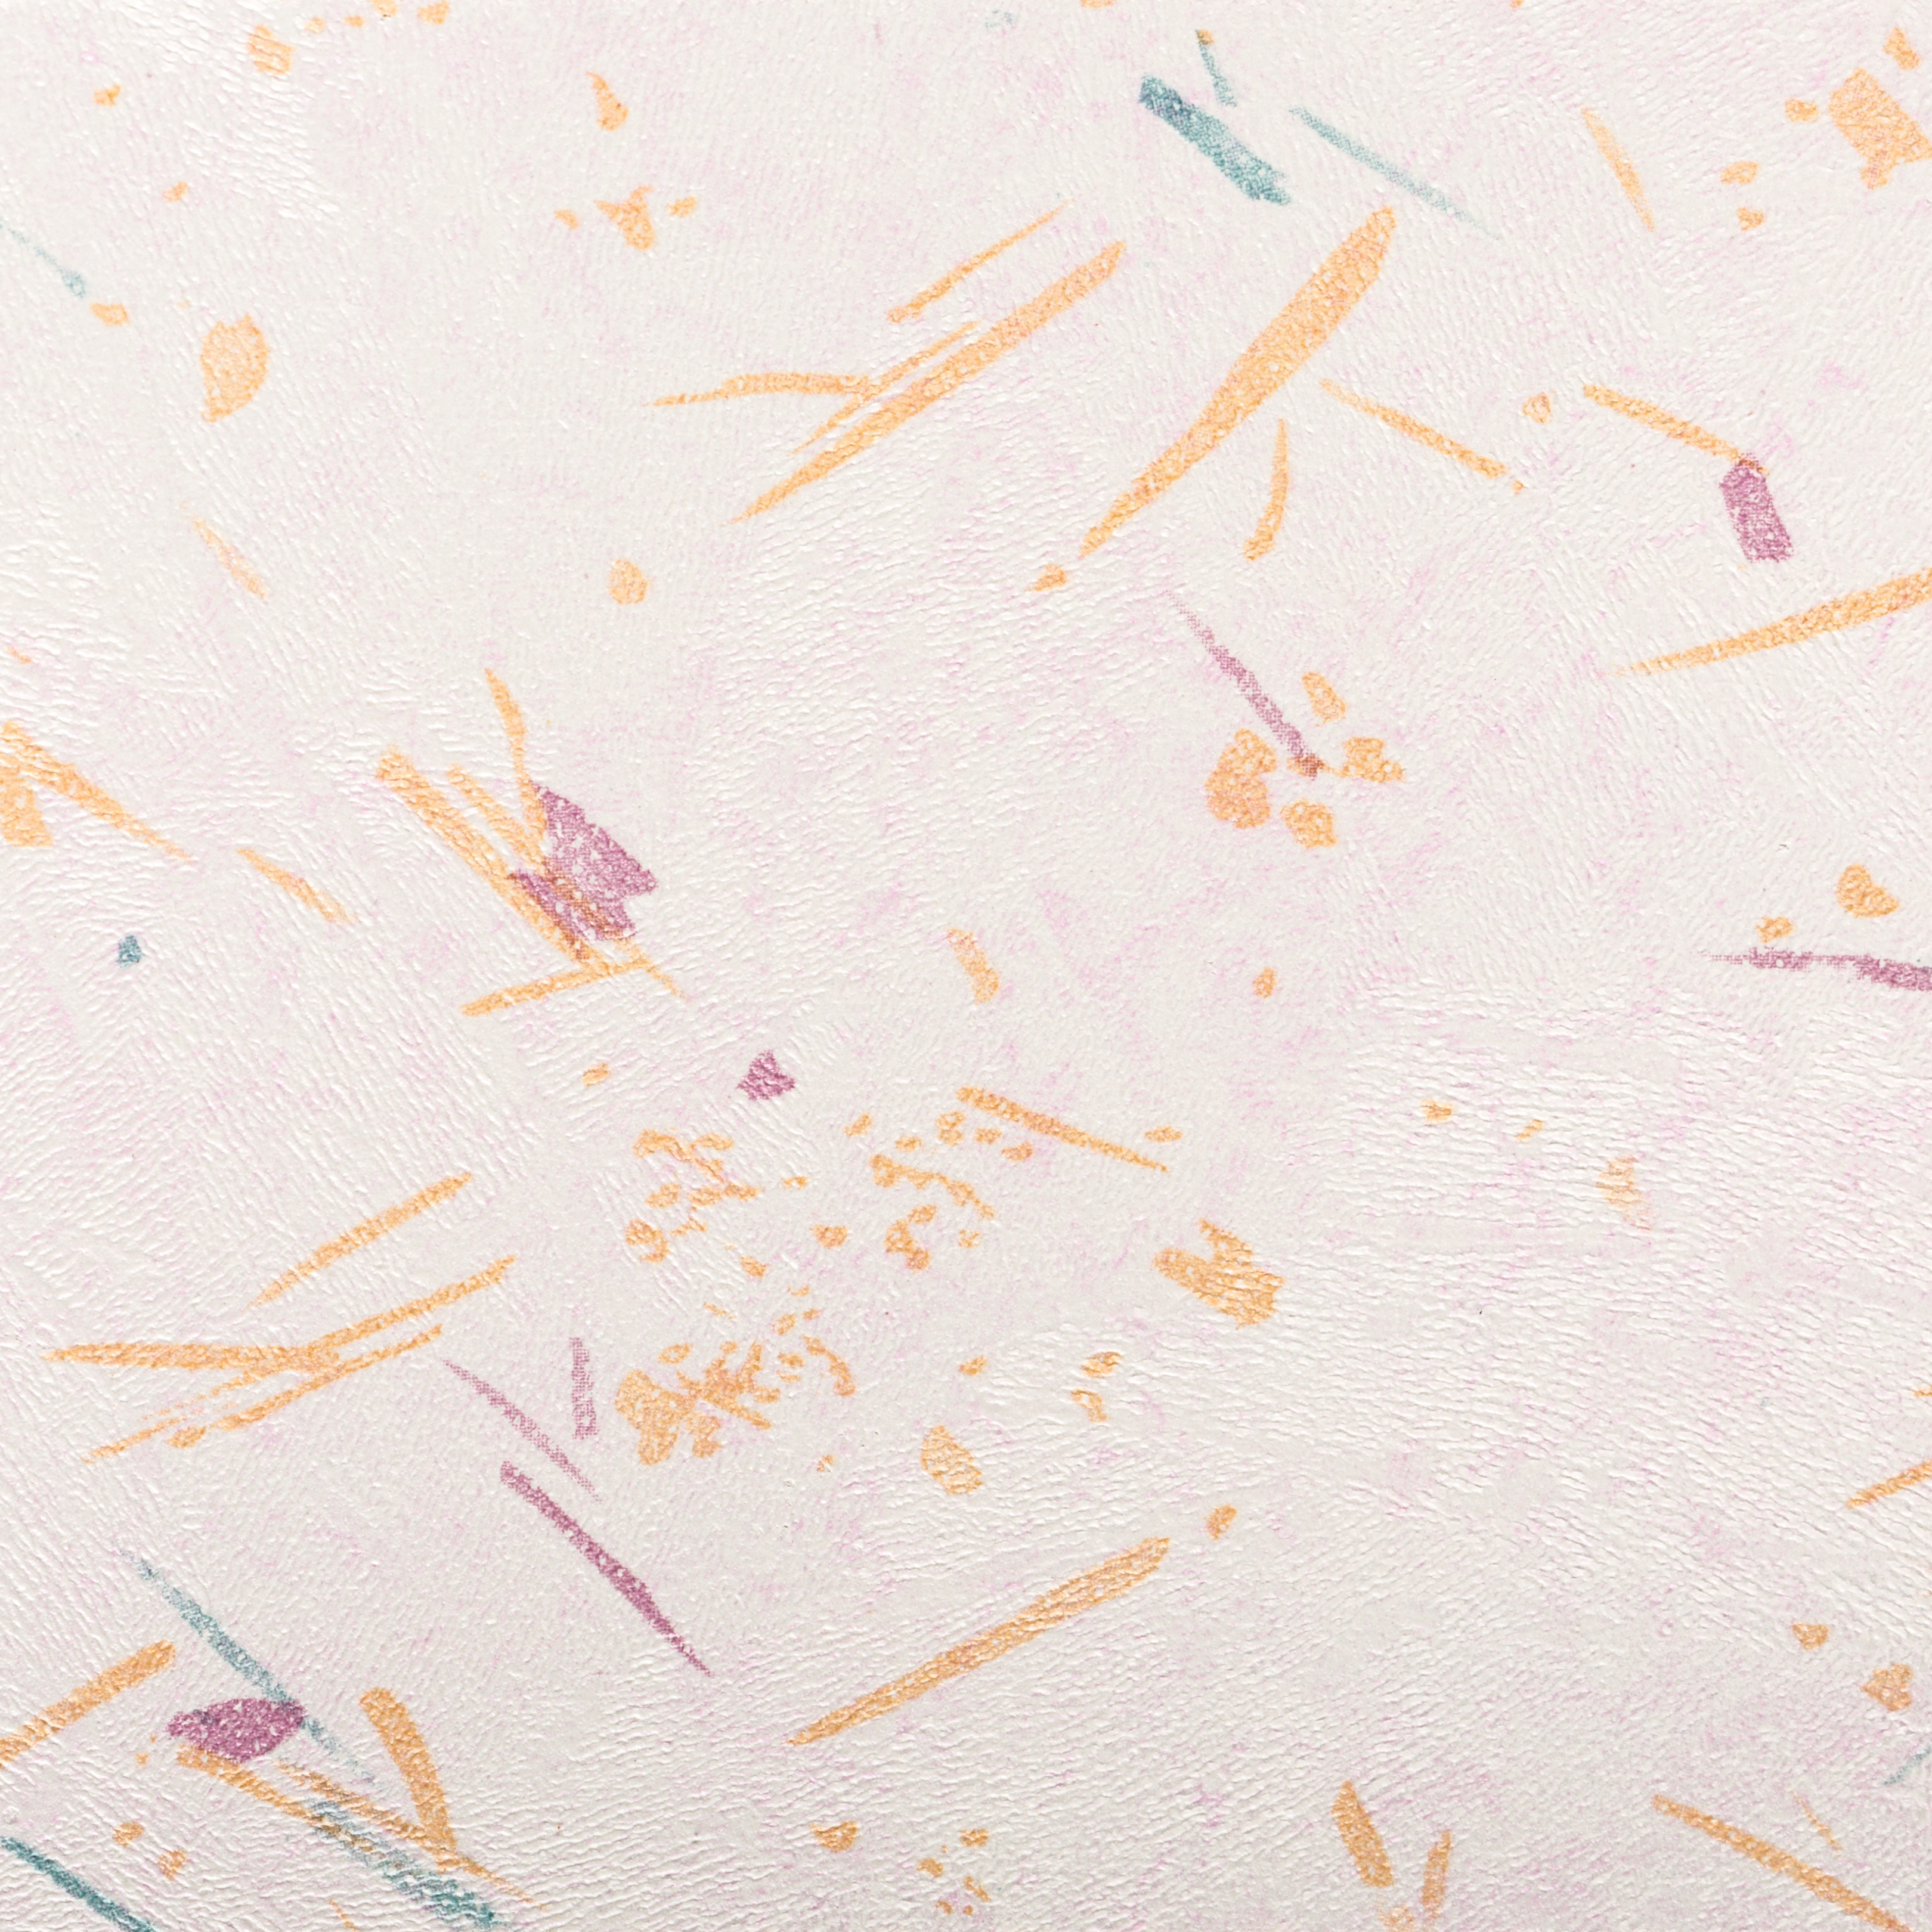
Wallpaper
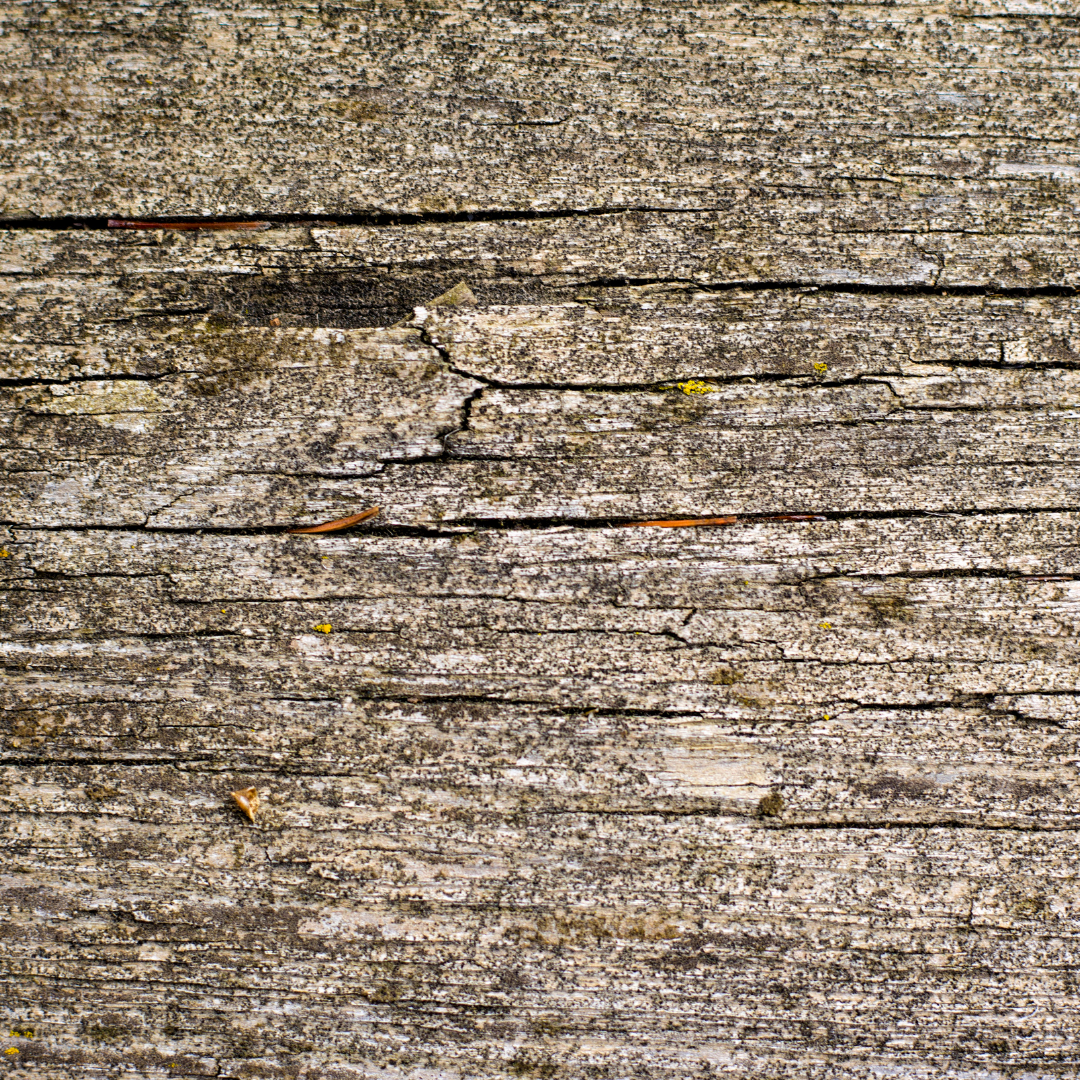
Unpainted Wood